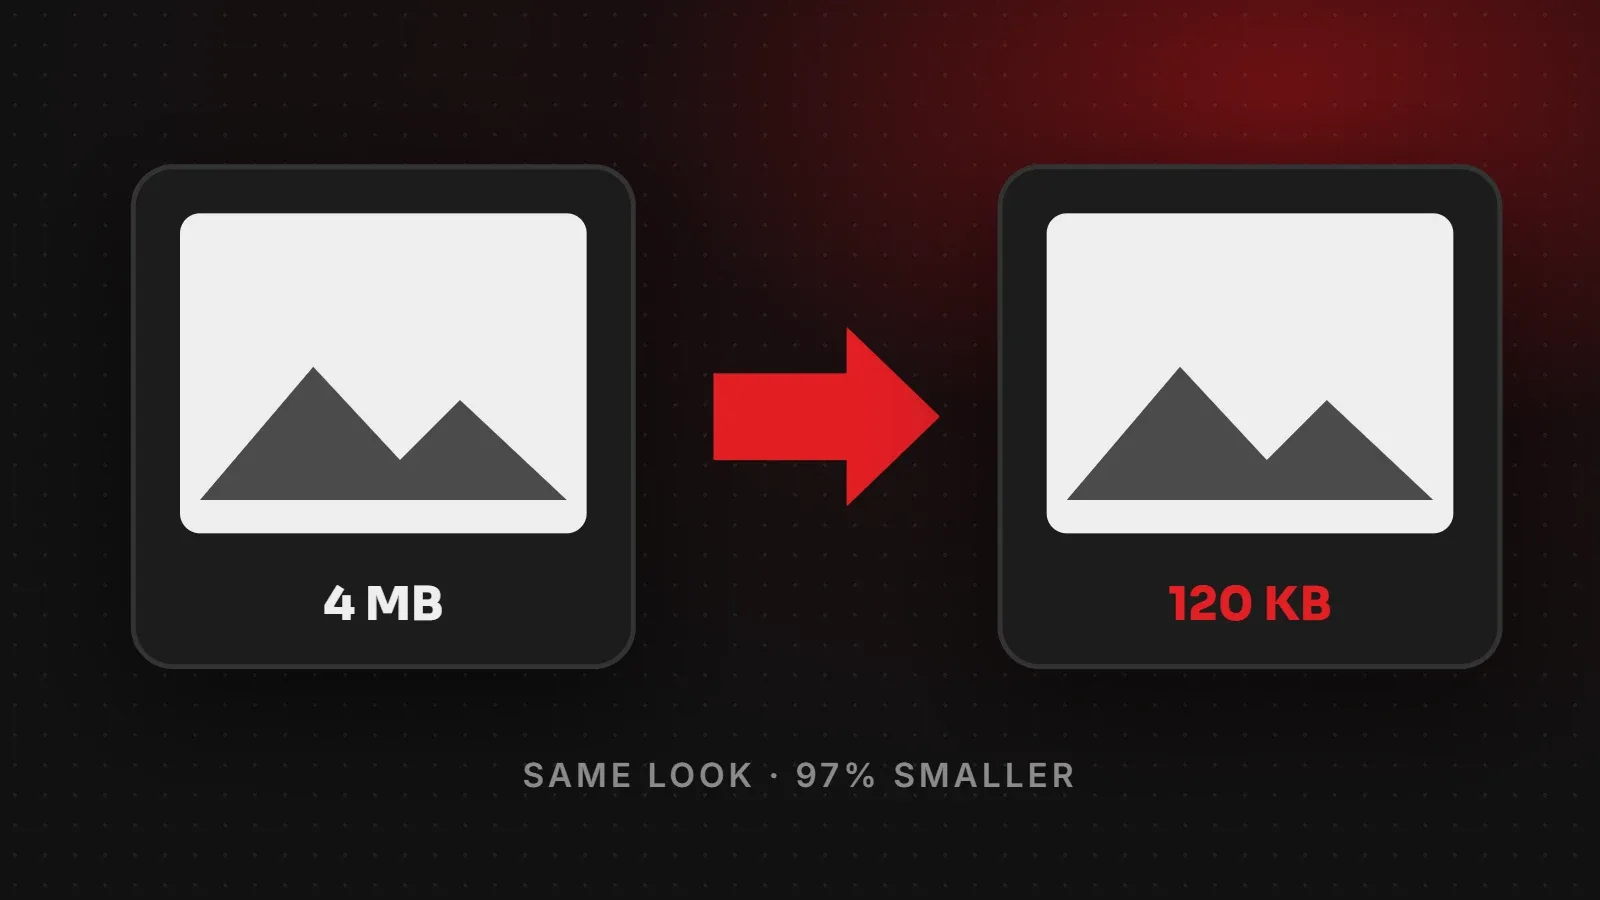
You can compress images without losing quality that anyone will notice by doing two things: resize the image to the size it is actually shown, then save it at a quality setting of about 75 to 85 percent in WebP or JPG. Free tools such as Squoosh and TinyPNG do this in seconds. A 4 MB phone photo often drops to 100 to 200 KB with no visible difference. This guide shows six free methods and the settings to use.
- Resizing to the right dimensions saves more space than any compression setting.
- Quality 75 to 85 in WebP or JPG looks the same as the original for almost every photo.
- On WordPress, a plugin can compress every upload automatically.
Lossy vs lossless compression
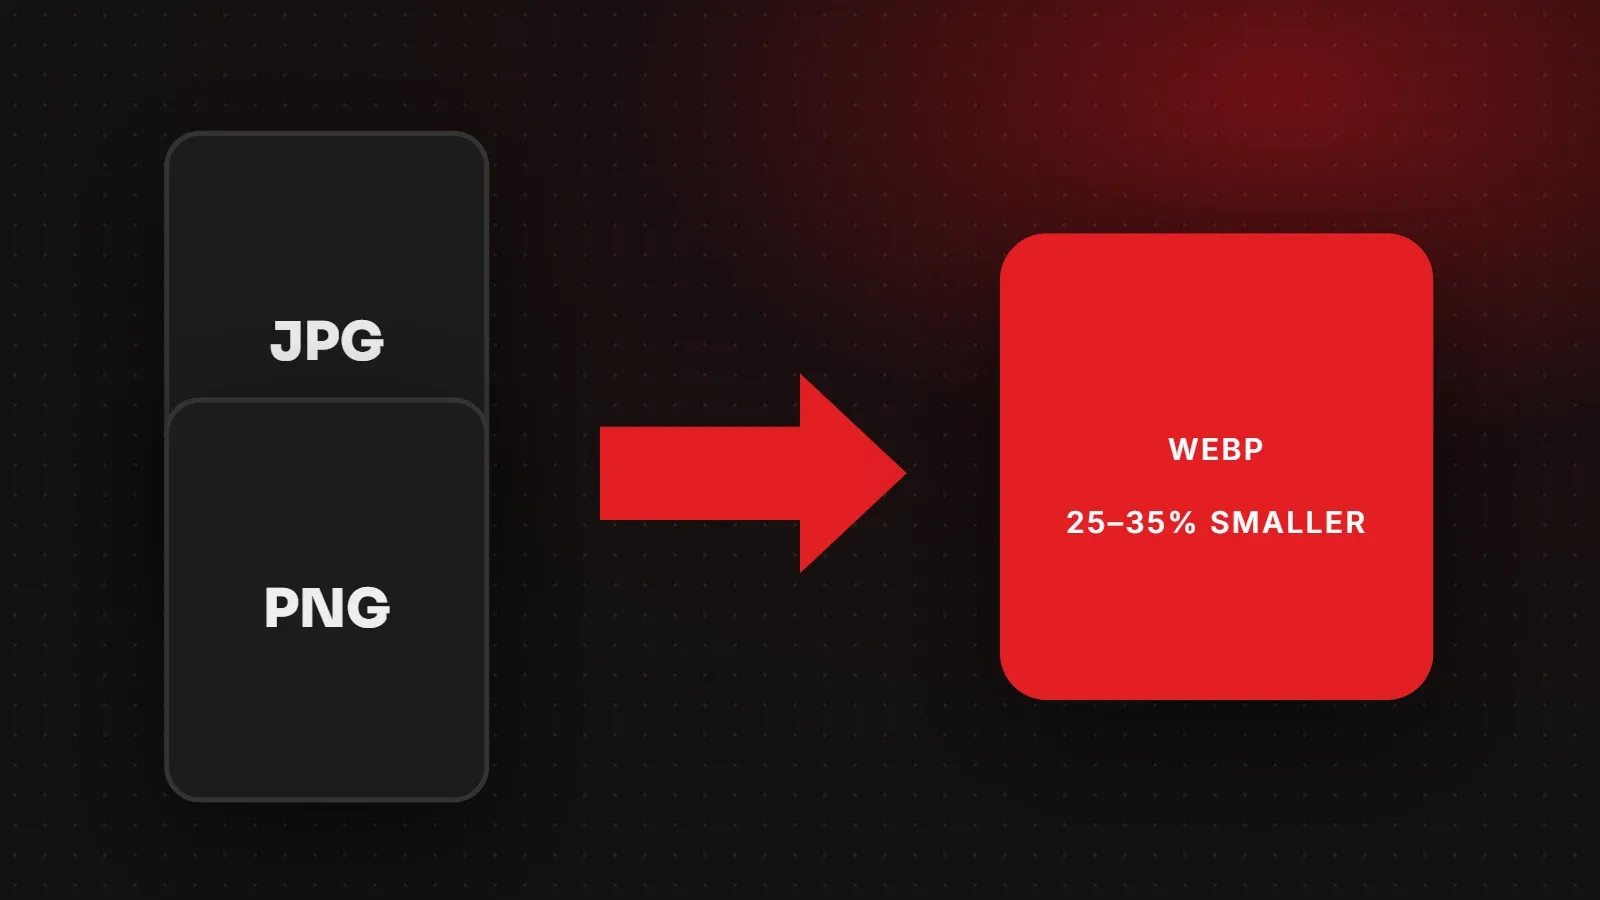
Lossless compression makes files smaller without changing a single pixel, but the savings are modest (often 10 to 30 percent). Lossy compression removes tiny details the eye does not notice and can cut files by 60 to 90 percent. When people say "compress without losing quality", they usually mean lossy compression at a high quality setting, where no difference is visible.
Step 1: Resize before you compress
A phone camera photo is often 4000 pixels wide. On most websites it appears at 1200 pixels wide or less. Resizing to the right width removes most of the extra data before compression even starts. Our website image size guide lists the right width for heroes, blog images and product photos.
6 free ways to compress images without losing quality
1. Squoosh (online, free)
Squoosh, made by Google's Chrome team, runs in your browser. Drag in an image, choose WebP or MozJPEG, set quality to around 80, and use the slider to compare before and after. You can also resize in the same screen.
2. TinyPNG / TinyJPG (online, free)
Upload up to a batch of images at a time and TinyPNG compresses them automatically. It works well for PNG graphics and JPG photos and needs no settings.
3. WordPress plugins
Plugins such as ShortPixel, Imagify, EWWW Image Optimizer and Smush compress every image you upload and can convert them to WebP. Most have a free tier with a monthly limit. As a result, you never have to remember to compress images manually.
4. Photoshop "Export As"
Use File > Export > Export As, choose JPG or WebP, set quality to around 80, and set the width. Avoid "Save As" at maximum quality, which creates large files.
5. Canva downloads
When downloading from Canva, choose JPG for photos and use the size slider to match the size you need. Furthermore, use "Compress file" where available. PNG downloads from Canva are often much larger.
6. Windows and phone apps
On Windows, the Photos app can resize images. On phones, many free apps such as Photo Compress or built-in "resize" options in gallery apps work for quick jobs before uploading to a website.
Best settings to compress images without losing quality
| Image type | Format | Quality setting |
|---|---|---|
| Photos | WebP or JPG | 75 to 85 |
| Product photos on white | WebP | 80 to 85 |
| Logos, icons, flat graphics | SVG, or PNG/lossless WebP | Lossless |
| Screenshots with text | PNG or WebP | Lossless or 90+ |
How to check you did not lose quality
- Compare the original and the compressed image side by side at 100 percent zoom.
- Look at faces, skin, sky and edges of text, where compression shows first.
- If you see blocks, bands or fuzzy text, raise the quality by 5 and export again.
For help choosing a format, see our JPG vs PNG vs WebP guide. After compressing, check your website speed to see the improvement.
Frequently asked questions
How can I reduce image size without losing quality?
Resize the image to its display size, then save as WebP or JPG at quality 75 to 85. The difference is almost never visible.
What is the best free image compressor?
Squoosh for full control and TinyPNG for quick batches. On WordPress, a compression plugin handles it automatically.
Does compressing images affect SEO?
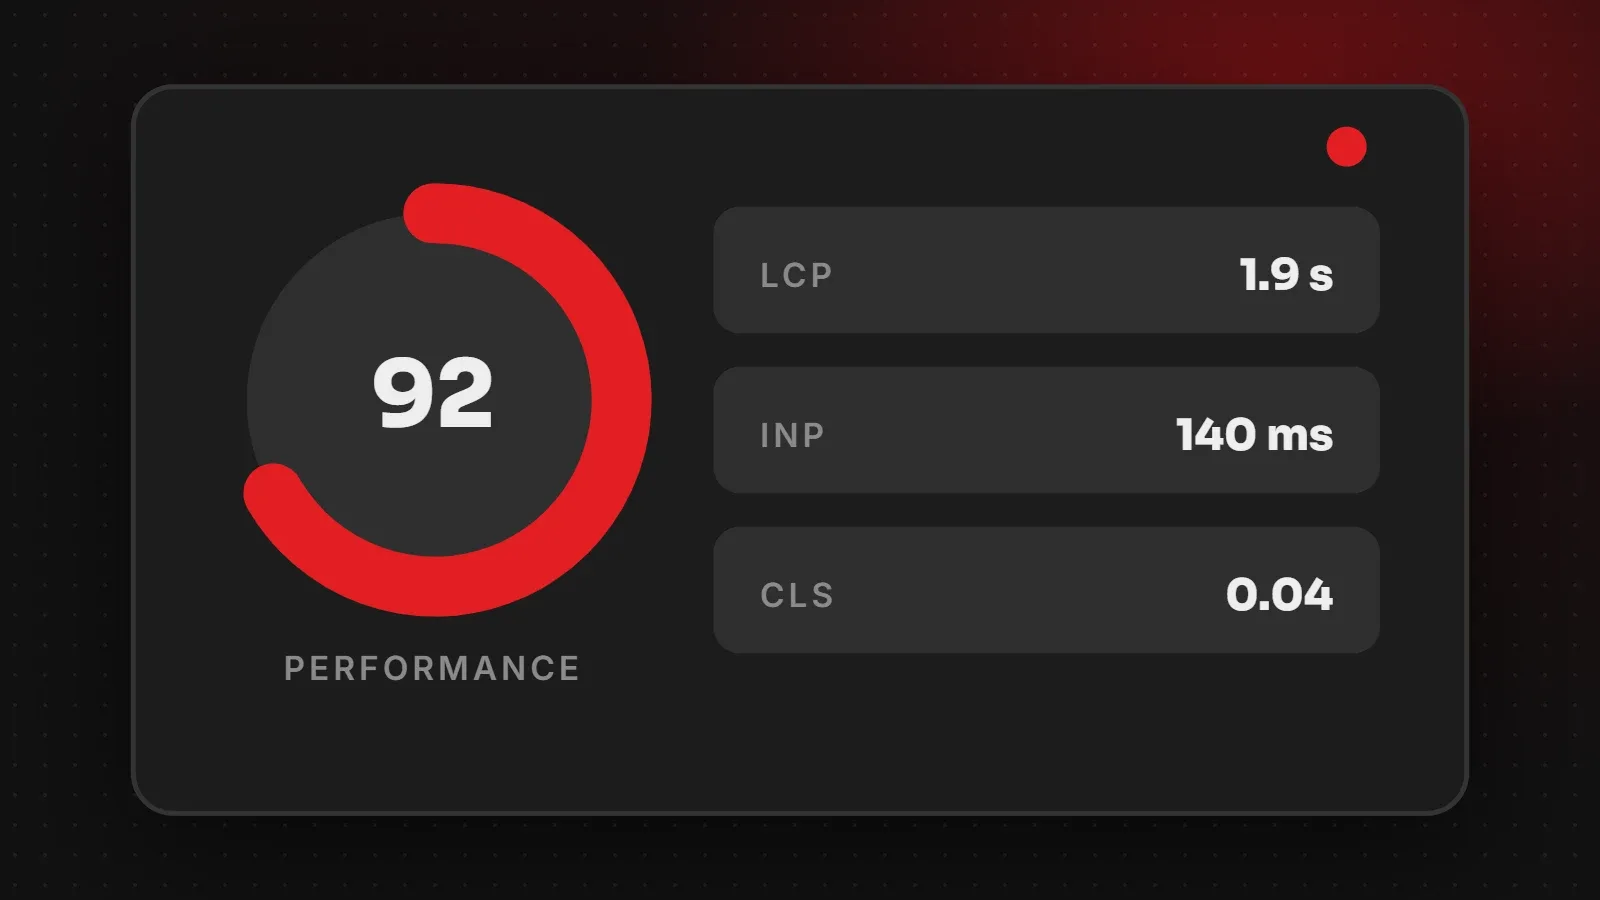
Yes, positively. Smaller images make pages load faster, which helps visitors and is part of Google's page experience signals.
How small should website images be?
Aim for under 100 KB for most images and under about 200 KB for large hero images.
Want us to optimise every image on your site?
Our speed and performance team compresses and converts all existing images, sets up automatic optimisation for new uploads, and checks the speed improvement. Ask for a free speed check.
Written by the ItsWebExpert team, a web design and development company in Karachi building websites, online stores and apps for businesses across Pakistan.
Ask a Question on WhatsApp