The easiest way to convert images to WebP is to open Squoosh in your browser, drop in a JPG or PNG, choose WebP and download the result. For a whole website, use a WordPress plugin that converts every image automatically. Photoshop, GIMP and Google's free cwebp tool also export WebP. This guide walks through five free methods and explains when to use each one.
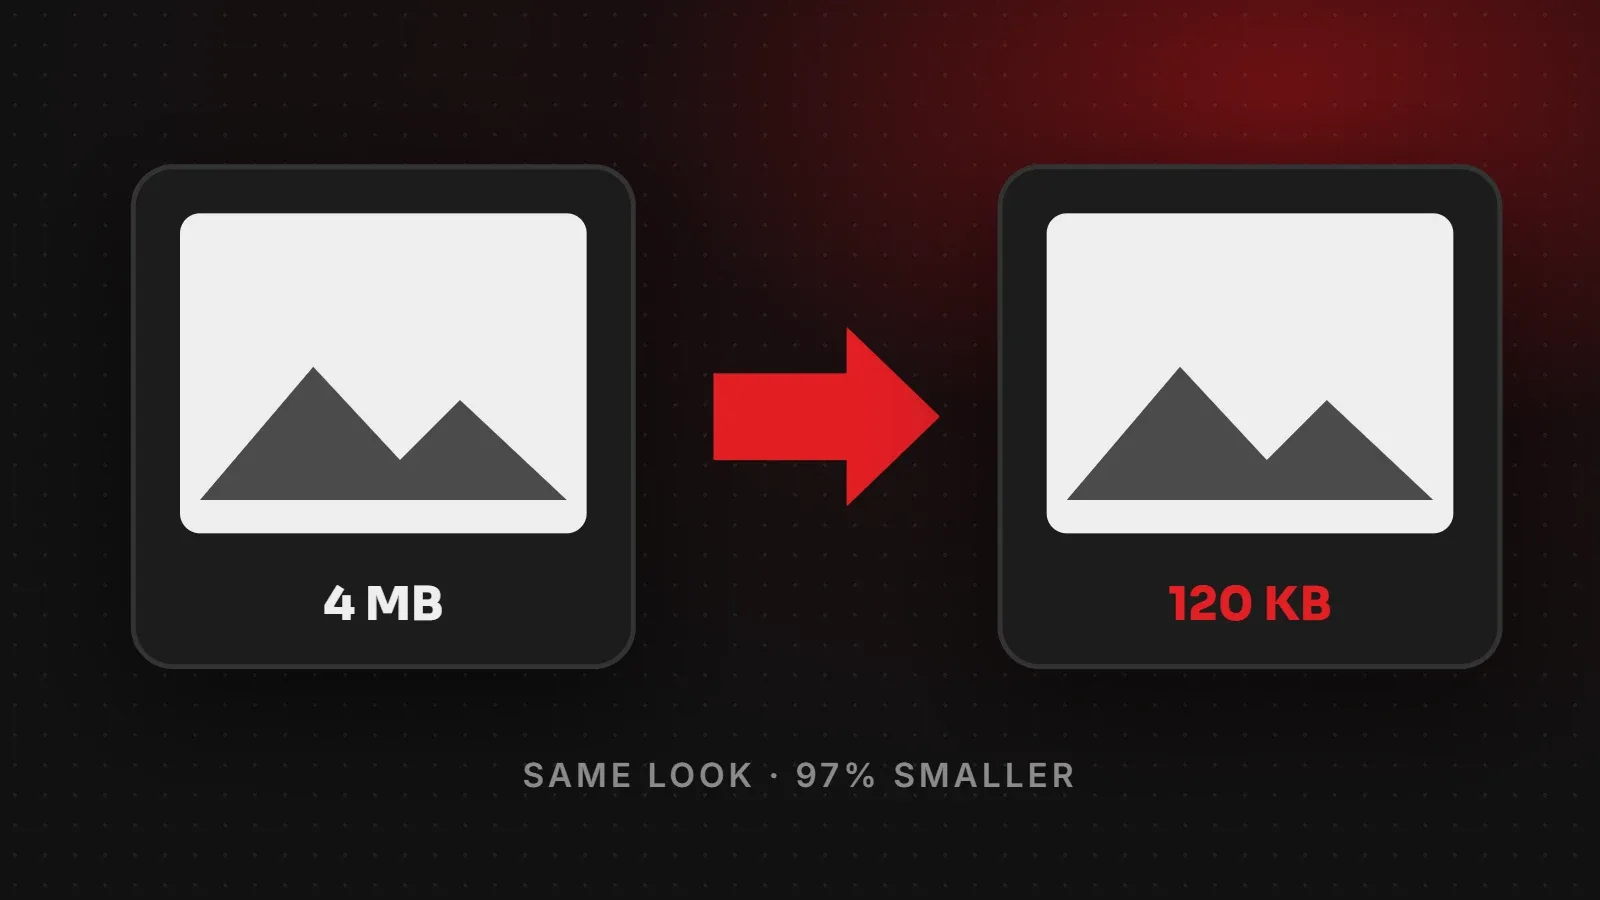
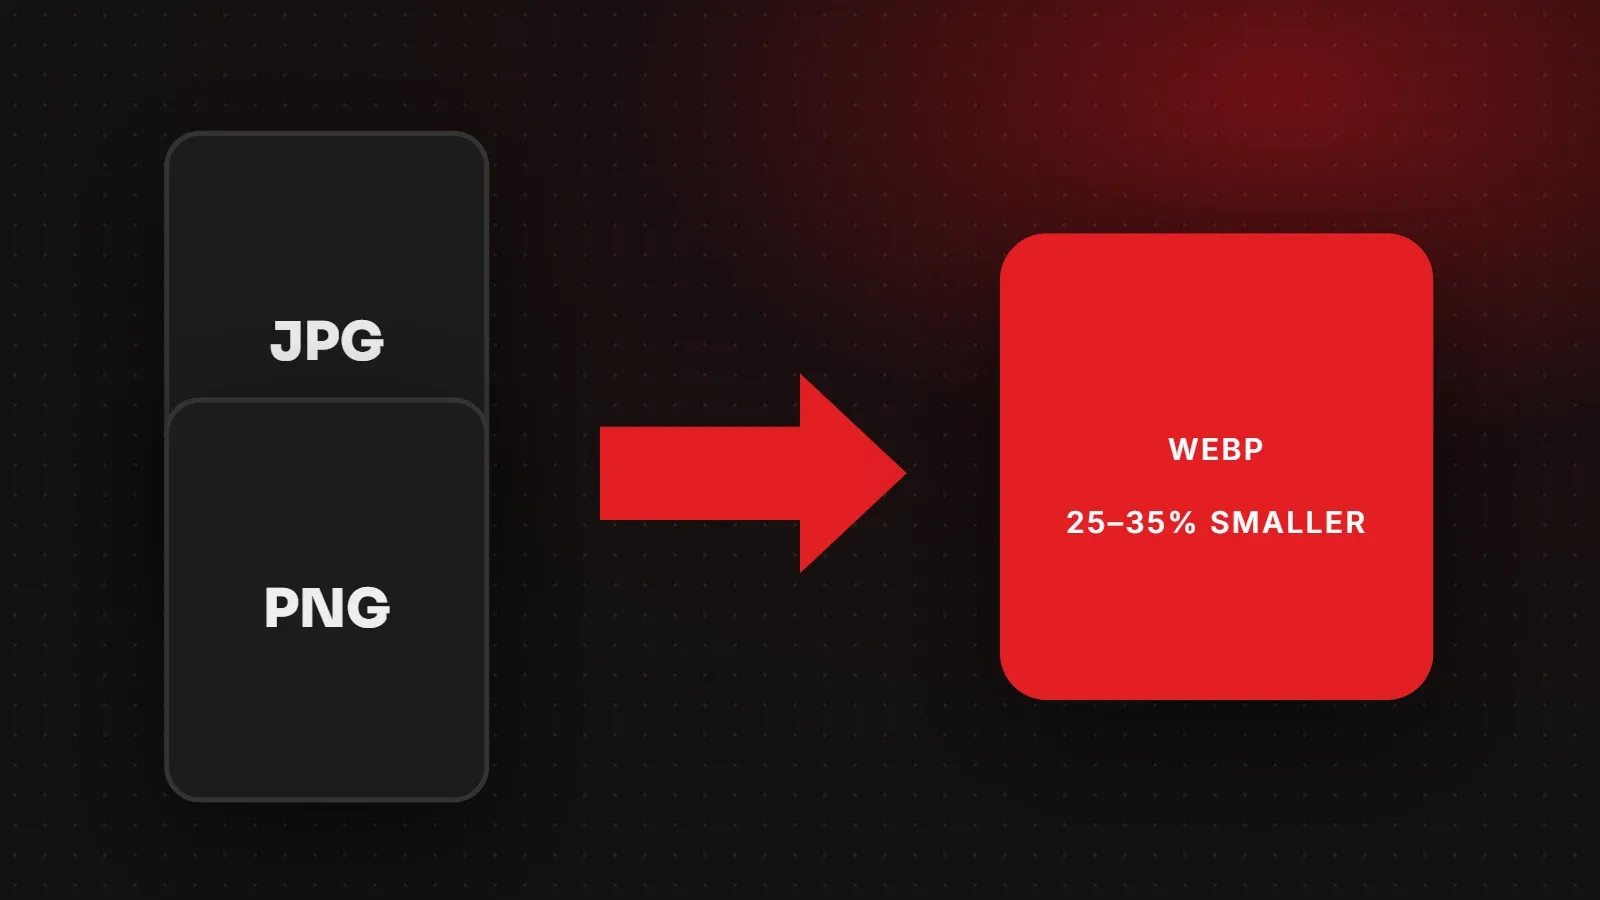
- WebP files are usually 25 to 35 percent smaller than JPG at the same quality, and they support transparency.
- For a few images, use an online converter. For a whole website, automate it with a plugin.
- Keep your original files. Convert copies for the web.
Why convert images to WebP?
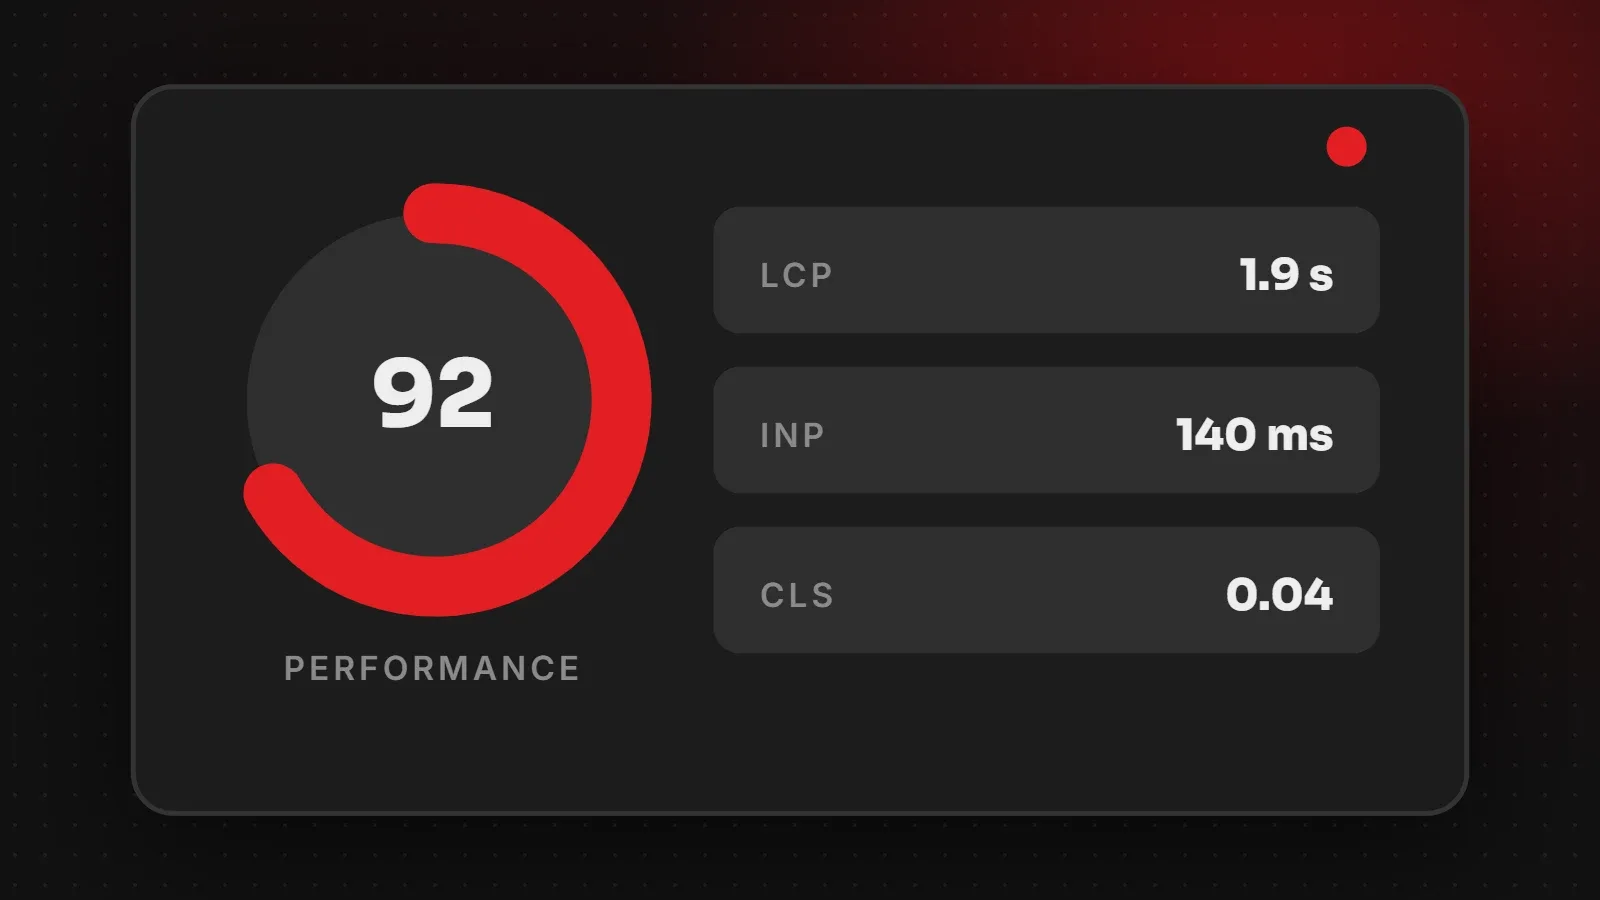
Smaller images mean faster pages, less mobile data for your visitors and better Core Web Vitals scores. Because WebP supports both photos and transparent graphics, one format can replace both JPG and PNG on most sites. All modern browsers support it. Our JPG vs PNG vs WebP guide compares the formats in detail.
5 free ways to convert images to WebP
1. Squoosh (online, one image at a time)
- Go to squoosh.app.
- Drag your image onto the page.
- On the right, set the format to WebP and quality to about 80.
- Optionally resize to the width you need.
- Click the download button.
Squoosh processes images in your browser, so your files are not uploaded to a server.
2. WordPress plugins (whole website, automatic)
Plugins such as ShortPixel, Imagify, EWWW Image Optimizer and Converter for Media can convert existing images in bulk and every new upload automatically. They usually keep the original JPG or PNG as a fallback. As a result, nothing breaks if an old browser or app cannot show WebP. WordPress itself has accepted WebP uploads since version 5.8.
3. Photoshop
Recent versions of Photoshop save WebP directly. Use File > Save a Copy or Export As and choose WebP. Pick "lossy" with quality around 80 for photos, or "lossless" for graphics with text.
4. GIMP (free desktop editor)
Open the image in GIMP, choose File > Export As, change the file name ending to .webp, and set the quality in the export window. GIMP is free on Windows, Mac and Linux.
5. cwebp command line (bulk, for developers)
Google's free cwebp tool converts images from the command line:
cwebp -q 80 photo.jpg -o photo.webpDevelopers can loop over a whole folder of images with a short script, which is useful before uploading a large catalogue.
Which method should you use?
| Situation | Best method |
|---|---|
| A few images for a blog post | Squoosh |
| A WordPress or WooCommerce website | A conversion plugin |
| Designs you already edit in Photoshop | Photoshop export |
| You want a free desktop app | GIMP |
| Hundreds of product photos | cwebp script or a plugin |
After you convert images to WebP
- Check a few pages on desktop and mobile to make sure every image still shows.
- Update image links if you replaced files manually.
- Run a speed test to measure the improvement. See how to check website speed.
- Combine conversion with resizing. A huge WebP is still a huge file. See our guide to compressing images without losing quality.
Frequently asked questions
How do I convert JPG to WebP for free?
Use Squoosh in your browser: drop in the JPG, choose WebP, set quality to about 80 and download.
Will converting to WebP reduce quality?
At quality 75 to 85 the difference is not visible for almost all photos. Use lossless WebP for screenshots and graphics with text.
Can I convert PNG with transparency to WebP?
Yes. WebP supports transparent backgrounds.
Do all browsers support WebP?
All modern browsers, including Chrome, Safari, Firefox and Edge, support WebP.
Want your whole site converted to WebP?
Our speed and performance team converts every image on your website, sets up fallbacks and automatic conversion for new uploads, and measures the speed gain. Contact us for a free review.
Written by the ItsWebExpert team, a web design and development company in Karachi building websites, online stores and apps for businesses across Pakistan.
Ask a Question on WhatsApp